Applying poly gel nails at home has become a beauty trend that’s not only budget-friendly but also incredibly rewarding. Whether you're a beginner or someone looking to perfect their technique, mastering the art of poly gel nails at home can save you both time and money—while giving you flawless, salon-worthy results.
Unlike acrylics, which require strong odors and a fast-paced application, poly gel nails offer the best of both worlds: the strength of acrylics and the flexibility of gels. This hybrid formula is easier to sculpt and mold, making it perfect for at-home users who want professional-looking extensions or overlays without a trip to the nail salon.
Before getting started, make sure you have all the essential tools. A complete poly gel nail kit typically includes the poly gel itself, a slip solution (or 70% isopropyl alcohol as an alternative), dual forms or nail forms, a nail brush and spatula, a UV/LED lamp, a nail file and buffer, and both a base coat and a topcoat. A cuticle pusher and nail dehydrator are also important for prep, which is a critical step in ensuring the gel adheres properly and lasts.

Start by prepping your nails thoroughly. This means removing any old polish, pushing back and trimming the cuticles, filing the nails into shape, and gently buffing the nail surface. Apply a dehydrator and primer to remove oils and create the perfect base for the gel. Once the prep is done, apply a thin layer of base coat and cure it under a UV/LED lamp for about 60 seconds.

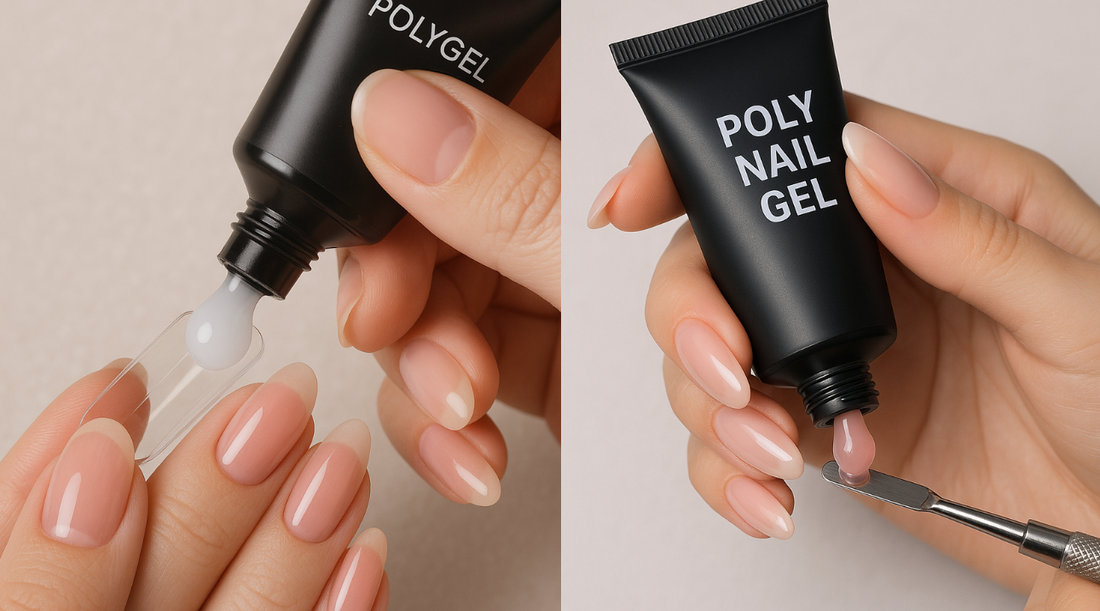
Next, choose a dual form that fits your natural nail shape. Squeeze a small bead of poly gel onto the inside of the form, then dip your brush into the slip solution and gently sculpt the gel to fit the form. Press the form onto your nail and cure it for 60 to 90 seconds. Once the gel has set, gently remove the dual form, revealing a perfectly molded nail underneath.

After curing, file and shape the nail to your desired length and style. Buff the surface to smooth out any imperfections. Apply a topcoat to seal in the gel and cure once more. Finally, cleanse your nails with alcohol to remove any sticky residue and apply cuticle oil to rehydrate the surrounding skin.

Let’s be honest—getting poly gel nails done at the salon can feel like a luxury, but the price tag? Not so much. With many salons charging anywhere from $60 to $100 per set, regular appointments can quickly burn a hole in your wallet. But here’s the good news: you don’t have to sacrifice style for savings.
More than just the end result, it’s the experience—the quiet time, the focus, the flow—that turns nail care into a form of self-care. Once you get the hang of it, it becomes something you look forward to. A little escape into beauty, right at your fingertips.
To extend the life of your poly gel manicure, avoid overexposure to water, wear gloves when doing chores, and reapply a top coat every week or so to keep the shine intact. With proper application and care, your at-home poly gel nails can last up to three weeks or more without lifting or chipping.
In summary, learning how to apply poly gel nails at home is a beauty investment that pays off in both style and savings. With a little practice, you’ll be able to achieve stunning, long-lasting nails right from the comfort of your own space—no appointment needed. Shop premium poly gel products at Beyond Beauty Page — everything you need for salon-quality results, all in one place.