
Press-on nails have become increasingly popular as a convenient and affordable way to achieve beautiful manicures at home. Whether you're preparing for a special occasion or simply want to enhance your everyday look, learning how to apply press-on nails can save you time and money. In this guide, we will walk you through the process of applying press-on nails for a flawless and long-lasting manicure.
Step 1: Prepare Your Natural Nails
Before applying press-on nails, it's important to prepare your natural nails properly. This will ensure better adhesion and longevity of the press-on nails. Start by using a nail dehydrator or a similar product to remove any oils and moisture from the surface of your nails. This step is crucial, as it helps the press-on nails adhere better to your natural nails. Follow the instructions provided by the nail dehydrator for optimal results.
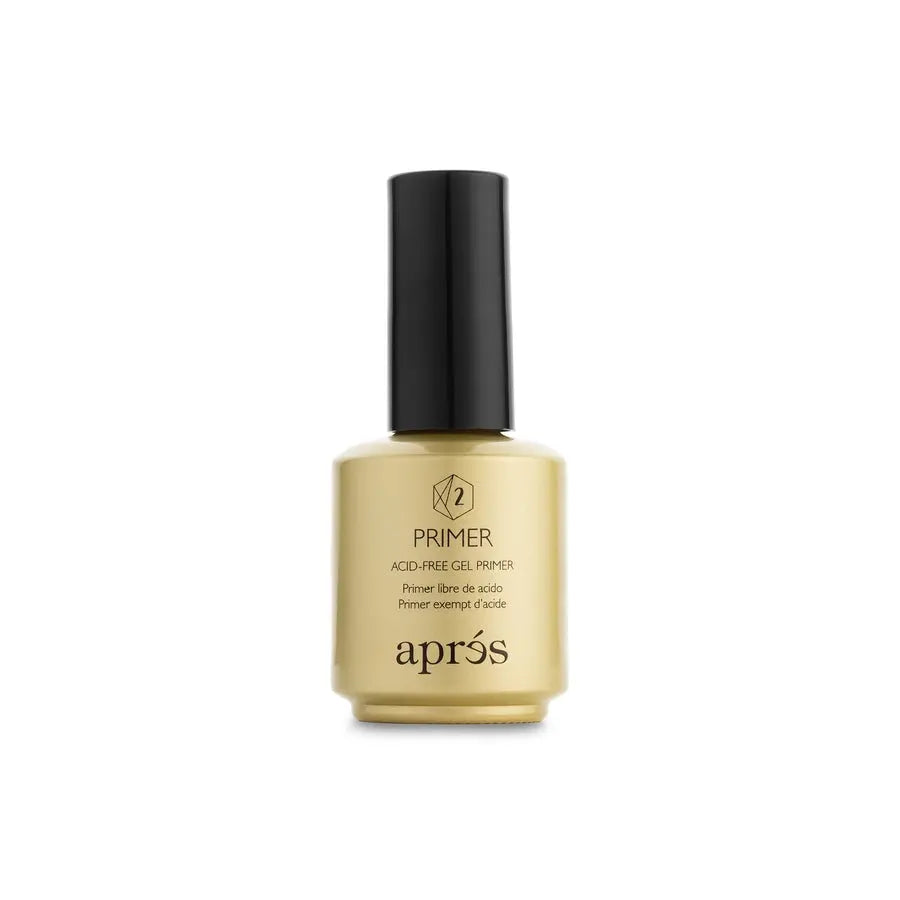
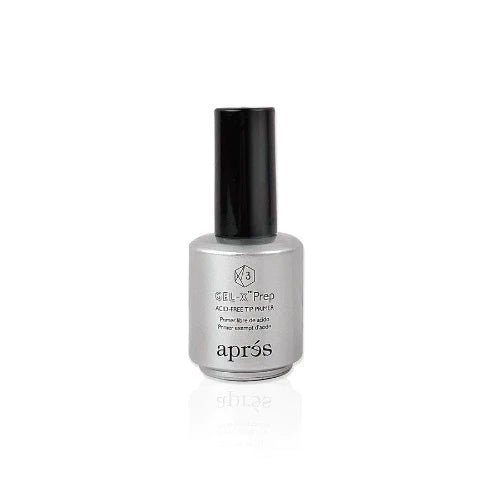
Step 2: Apply Nail Primer
To further enhance the adhesion of the press-on nails, apply a nail primer. Nail primers not only promote better adherence but also help prevent the formation of air bubbles, which can affect the durability of your manicure. Apply the nail primer according to the instructions provided by the manufacturer. Be sure to allow it to dry completely before moving on to the next step.
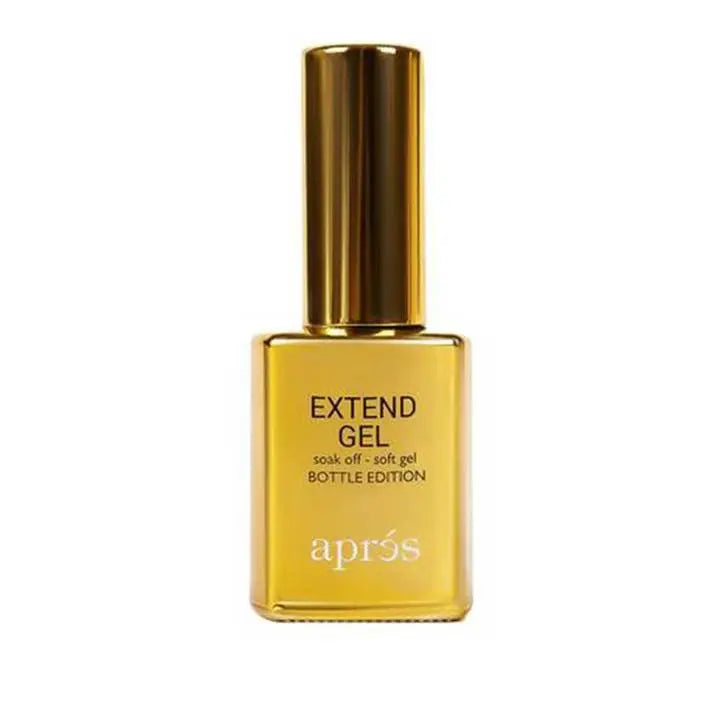
Step 3: Apply Gel X or Extend Gel
Now it's time to apply Gel X or Gel Extend to your natural nails, which will act as the base for your nail clippers. Using a UV/LED lamp, heat Gel X or Gel Extend for about 60 seconds to ensure proper curing of the gel. This will provide a solid foundation for the nail clippers and help them stay in place for a long time.
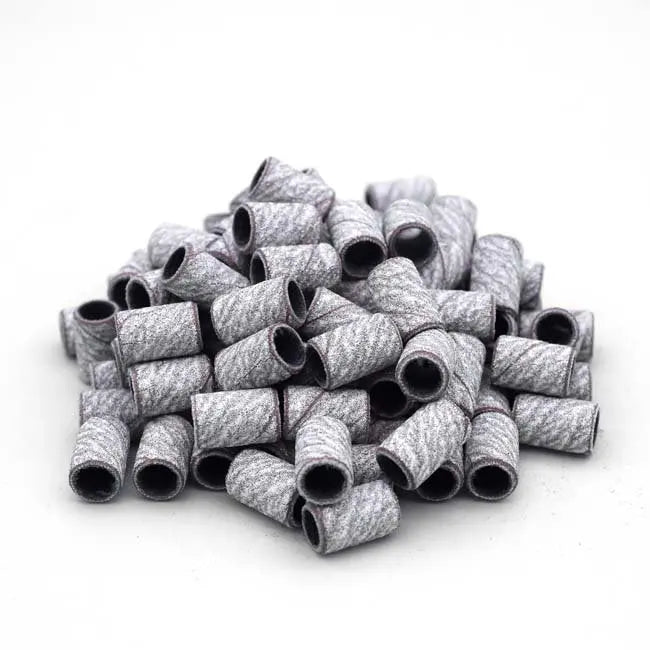
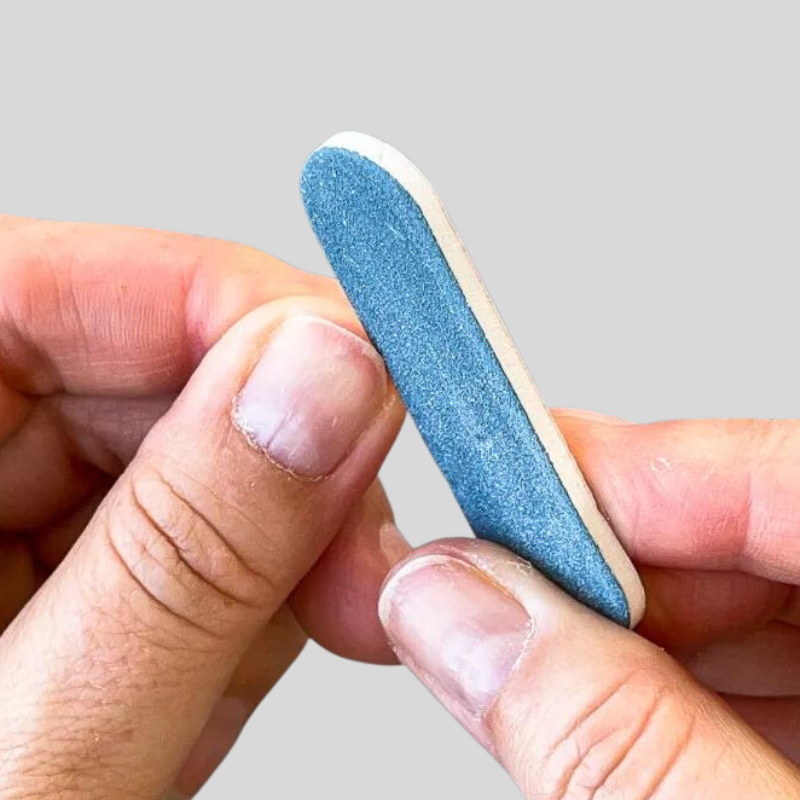
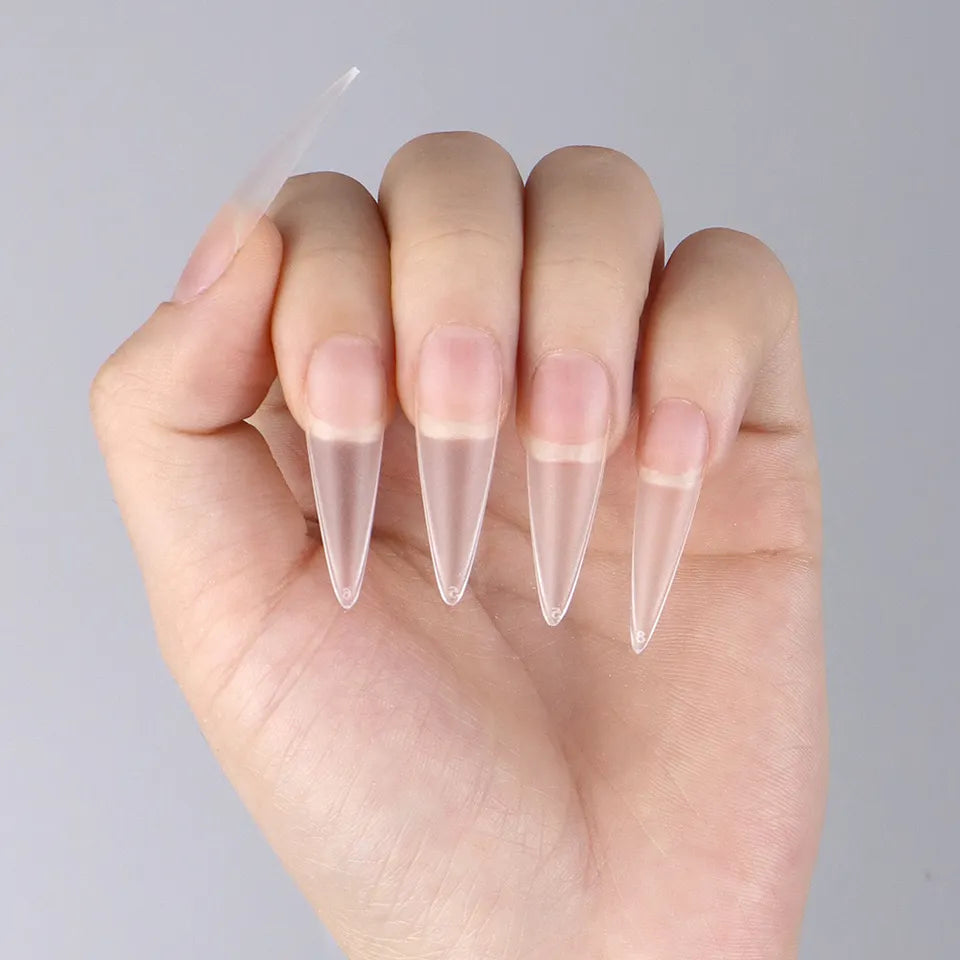
Step 4: File the Inside of the Gel X Nail Tip
To ensure a seamless fit, file the inside of the Gel X nail tip using an e-file and a sanding band. This step helps to customize the fit of the press-on nails to your natural nail shape, creating a more natural and comfortable result.
Step 5: Apply Primer Gel Tip to the Fake Nails
To prepare the press-on nails for application, apply a primer gel tip to the backside of each nail. This will further enhance the adhesion between the press-on nails and your natural nails. After applying the primer gel tip, apply a small bead of Gel X or Extend Gel to the backside of the press-on nail, ensuring that you cover the entire nail area.
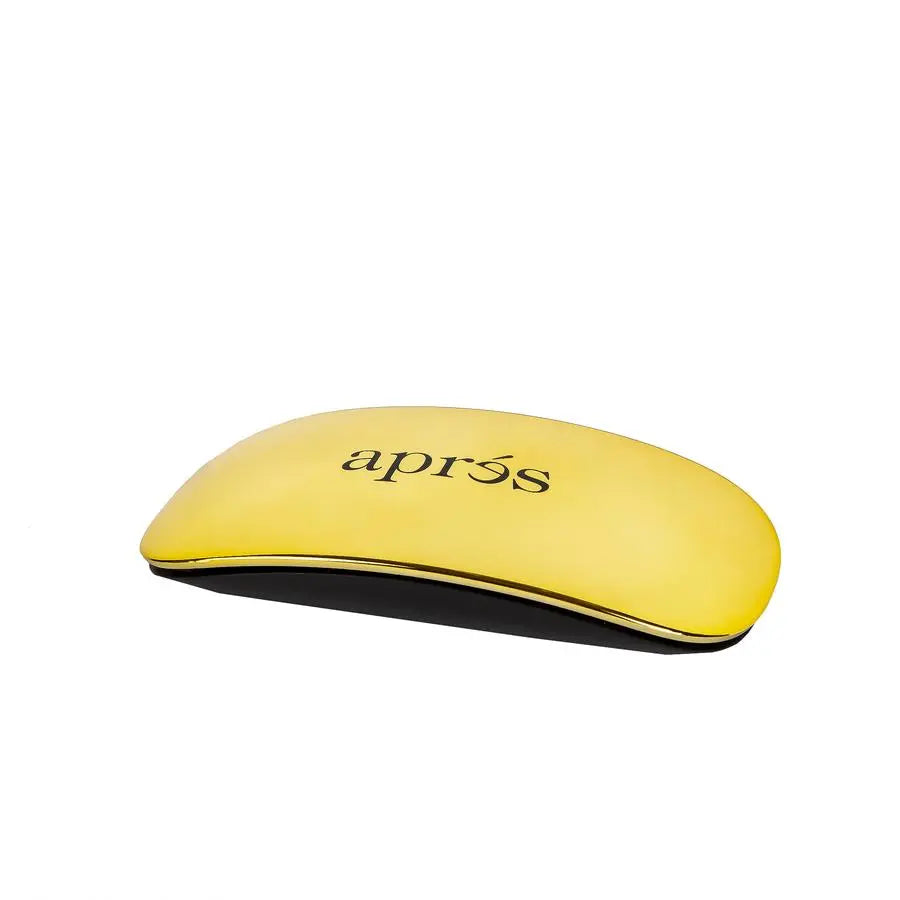
Step 6: Attach the Press-On Nails
With the press-on nails prepared, it's time to attach them to your natural nails. Start by placing the press-on nail near the cuticle area at a 45-degree angle. Gently push the nail tip down, ensuring a smooth application of the Gel X or Extend Gel. To ensure proper curing, use a mini lamp to cure the tips for approximately 10 seconds, followed by curing under an LED light for about 60 seconds.
Step 7: Repeat the Application
Continue applying the remaining press-on nails, following the same process for each one. Take your time to ensure a precise and secure application for each nail. Once all the press-on nails are in place, use a buffer to remove any shine on the nail tips. This step helps create a smooth surface for applying gel color or any desired nail design.
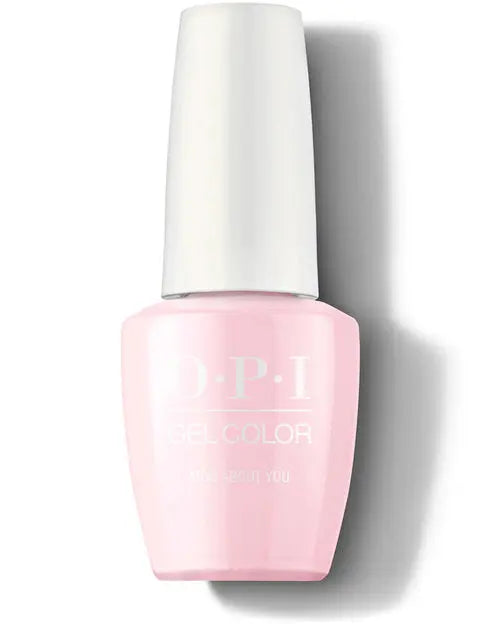
Step 8 : Finish with Gel Color or Design
Finally, finish your press-on nail application by adding a layer of gel color or any nail design of your choice. Follow the instructions provided with the gel color or design product for optimal results. Once your nails are fully decorated, cure them under the UV/LED lamp according to the manufacturer's instructions.